Custom prices. Change the price of the product depending on the design.
Sometimes, you need to change the price of the product depending on the customization made by the customer. In Qstomizer you can increase the price of the product depending on the images added to a design, text, num of charts, sides customized, etc.
To do so, follow this tutorial.
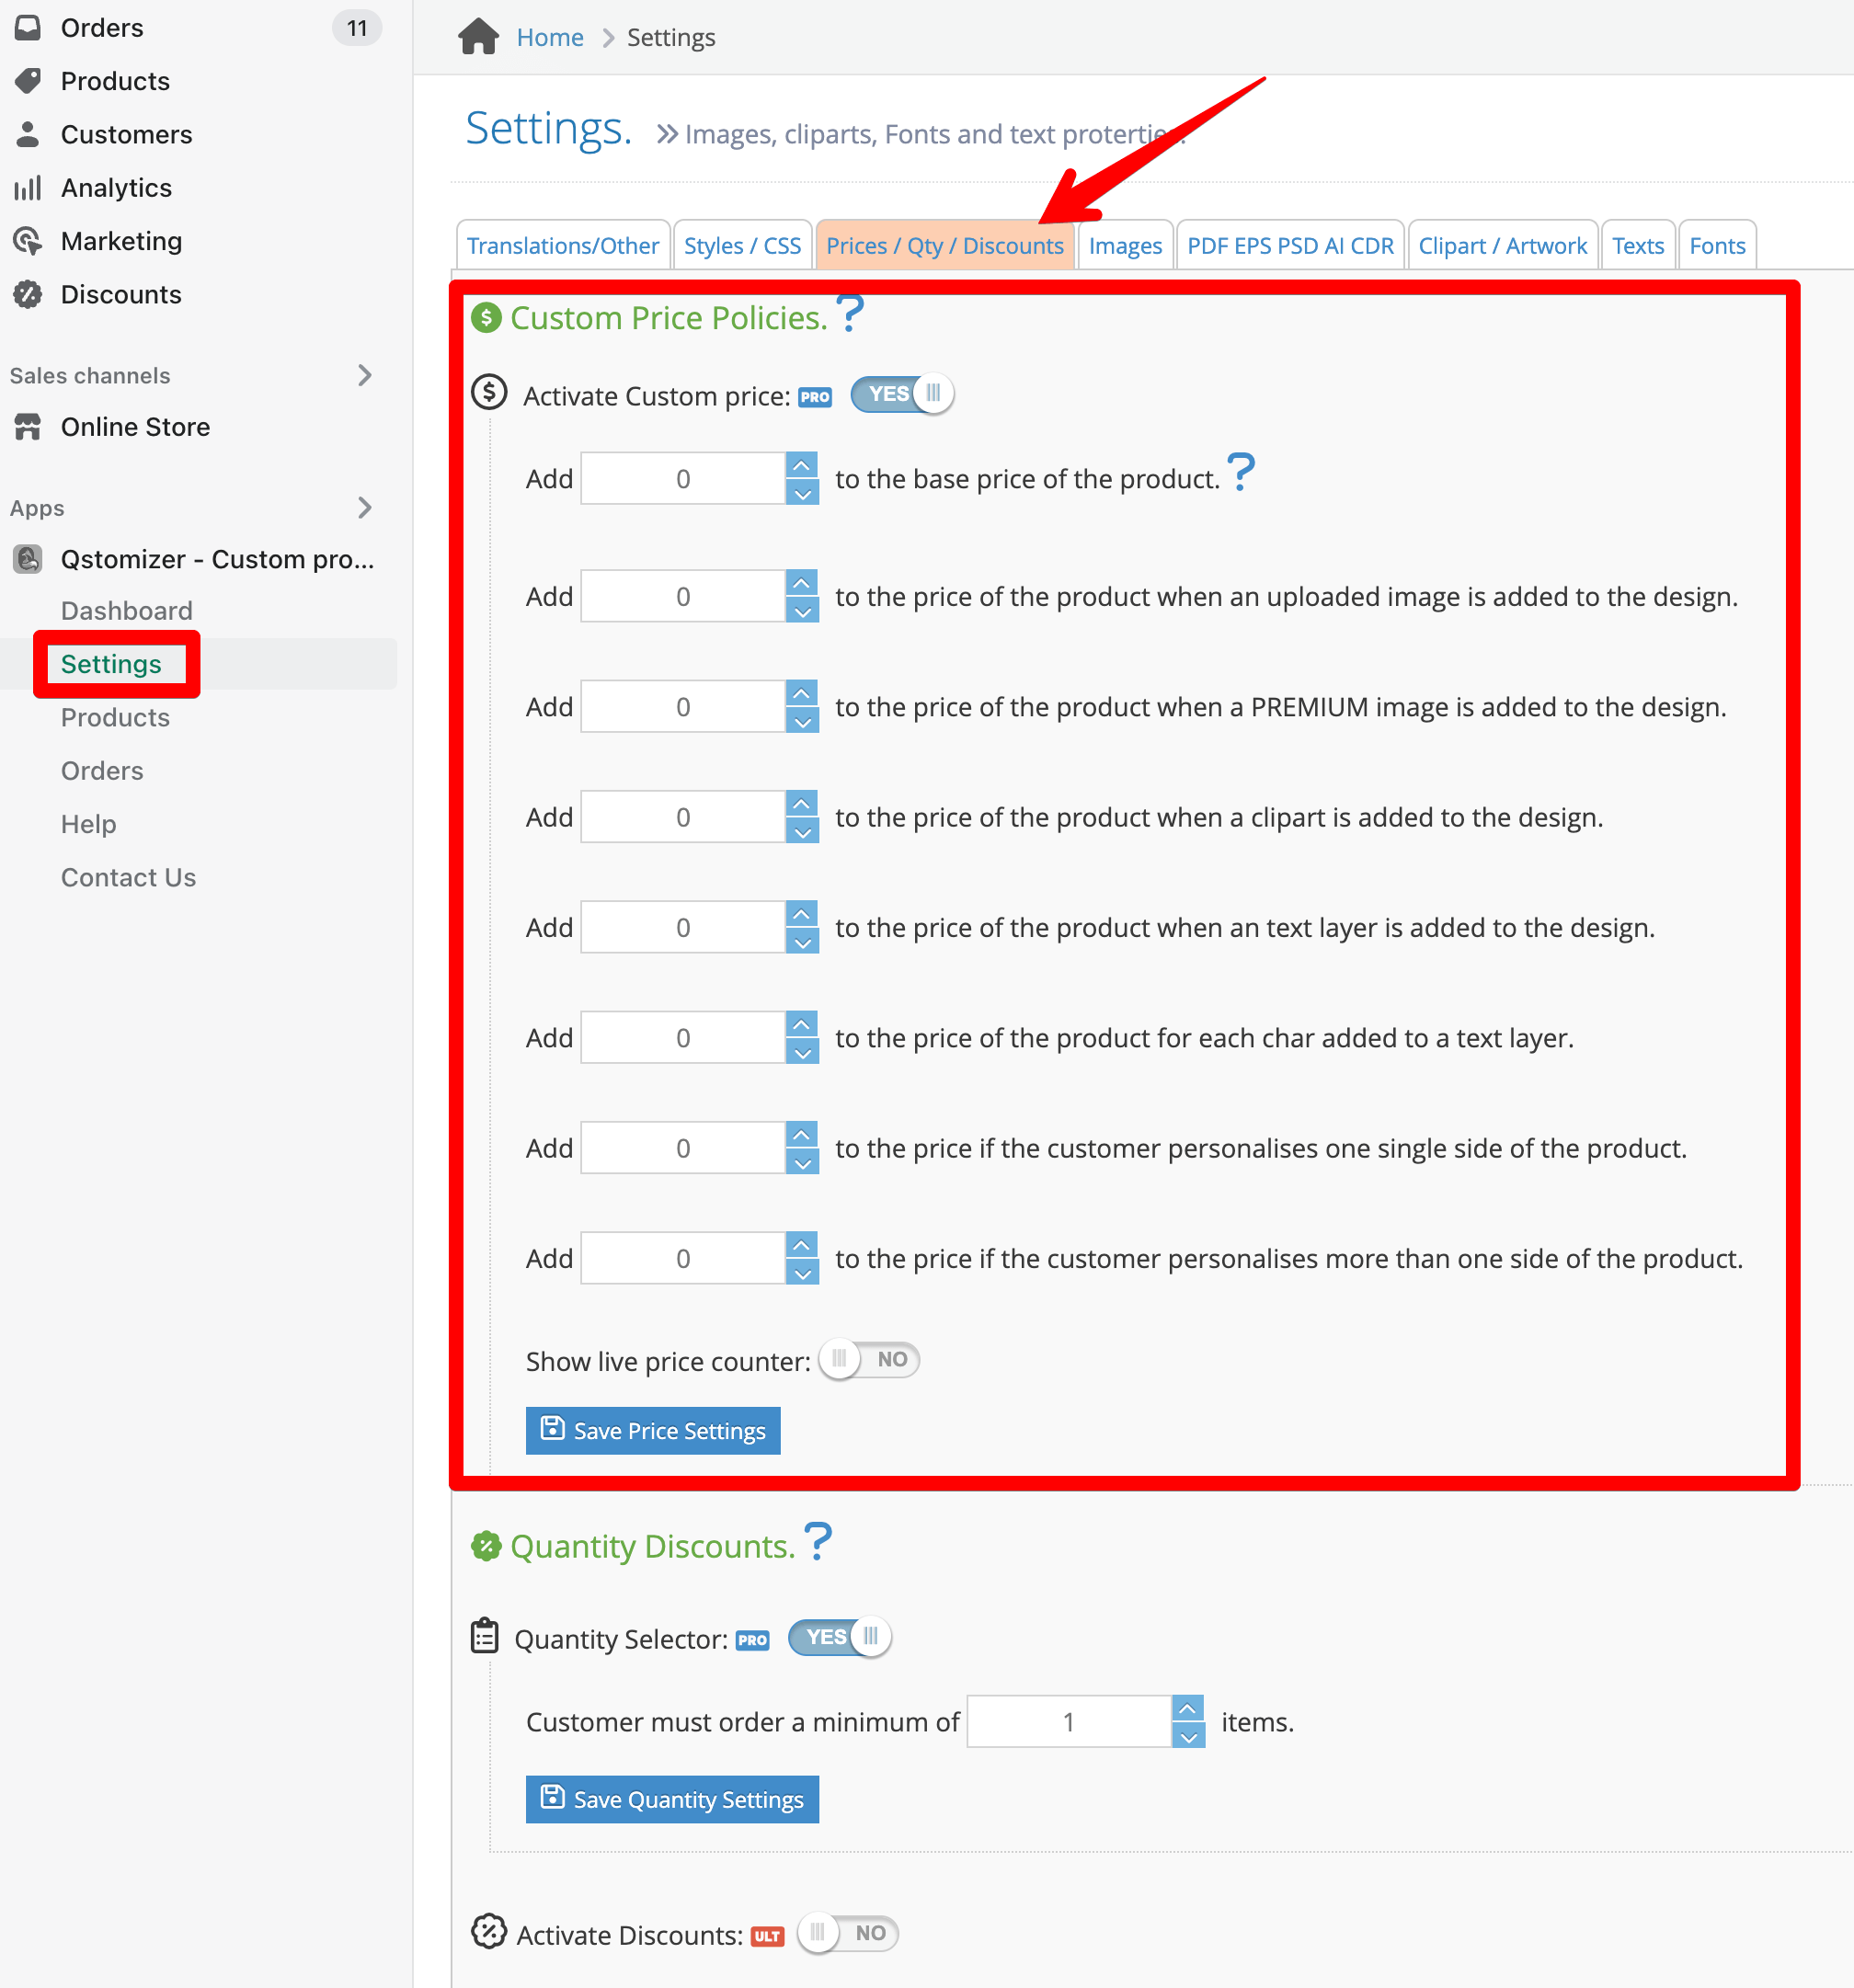
- You can set a custom price policy in 2 pages of the backend: In the general settings page or in the product setttings page.
Custom prices defined in Settings
Custom prices defined in the Product Settings
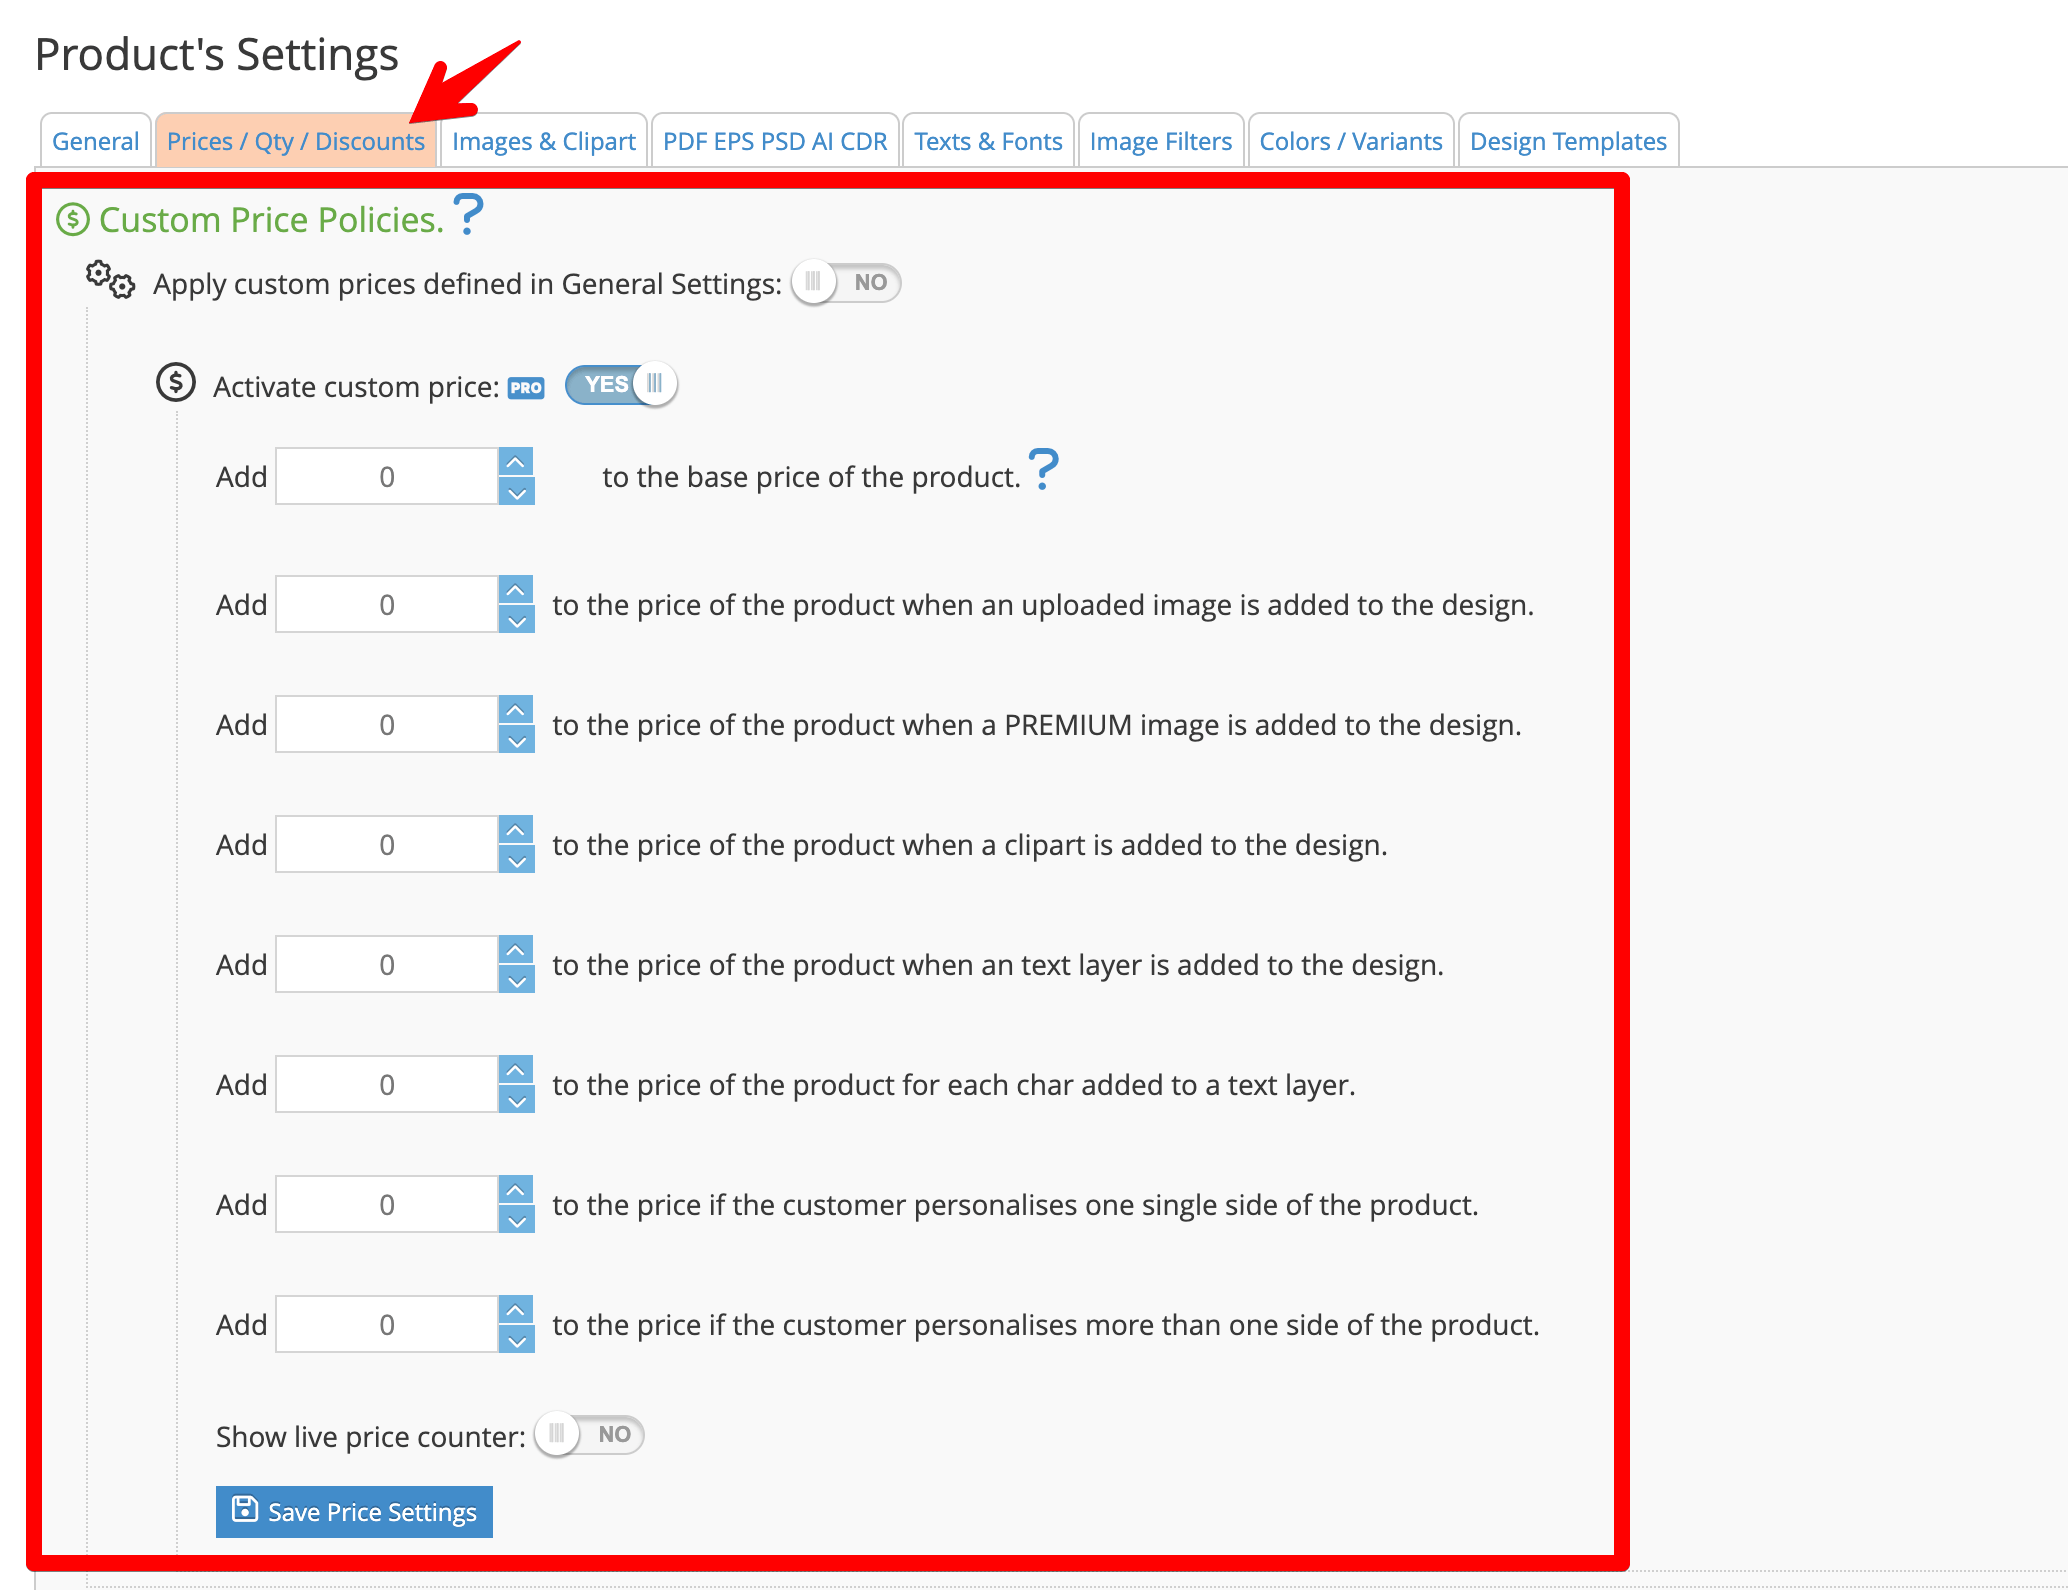
If you set the custom price policy in the Settings, this policy will be applied to all the customizable products.
If you set the prices policy in a specific product page, this policy will override the policy set in the Settings and it will be applied to this specific product only.
In this way, you can set a generic custom policy or different policies depending on the product.
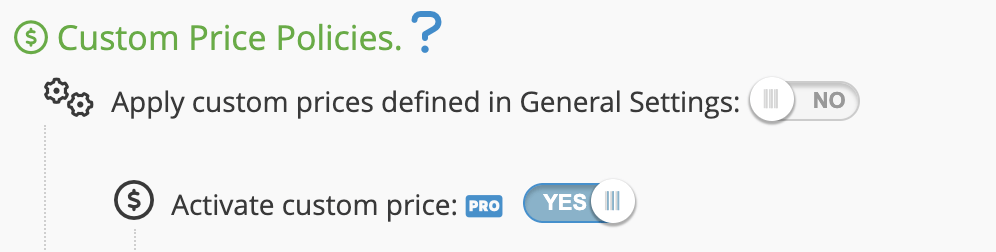
- In the products settings you can set if you want to apply the price policy defined in the settings or the one defined in the product page or completely deactivate the policy by using these switches:
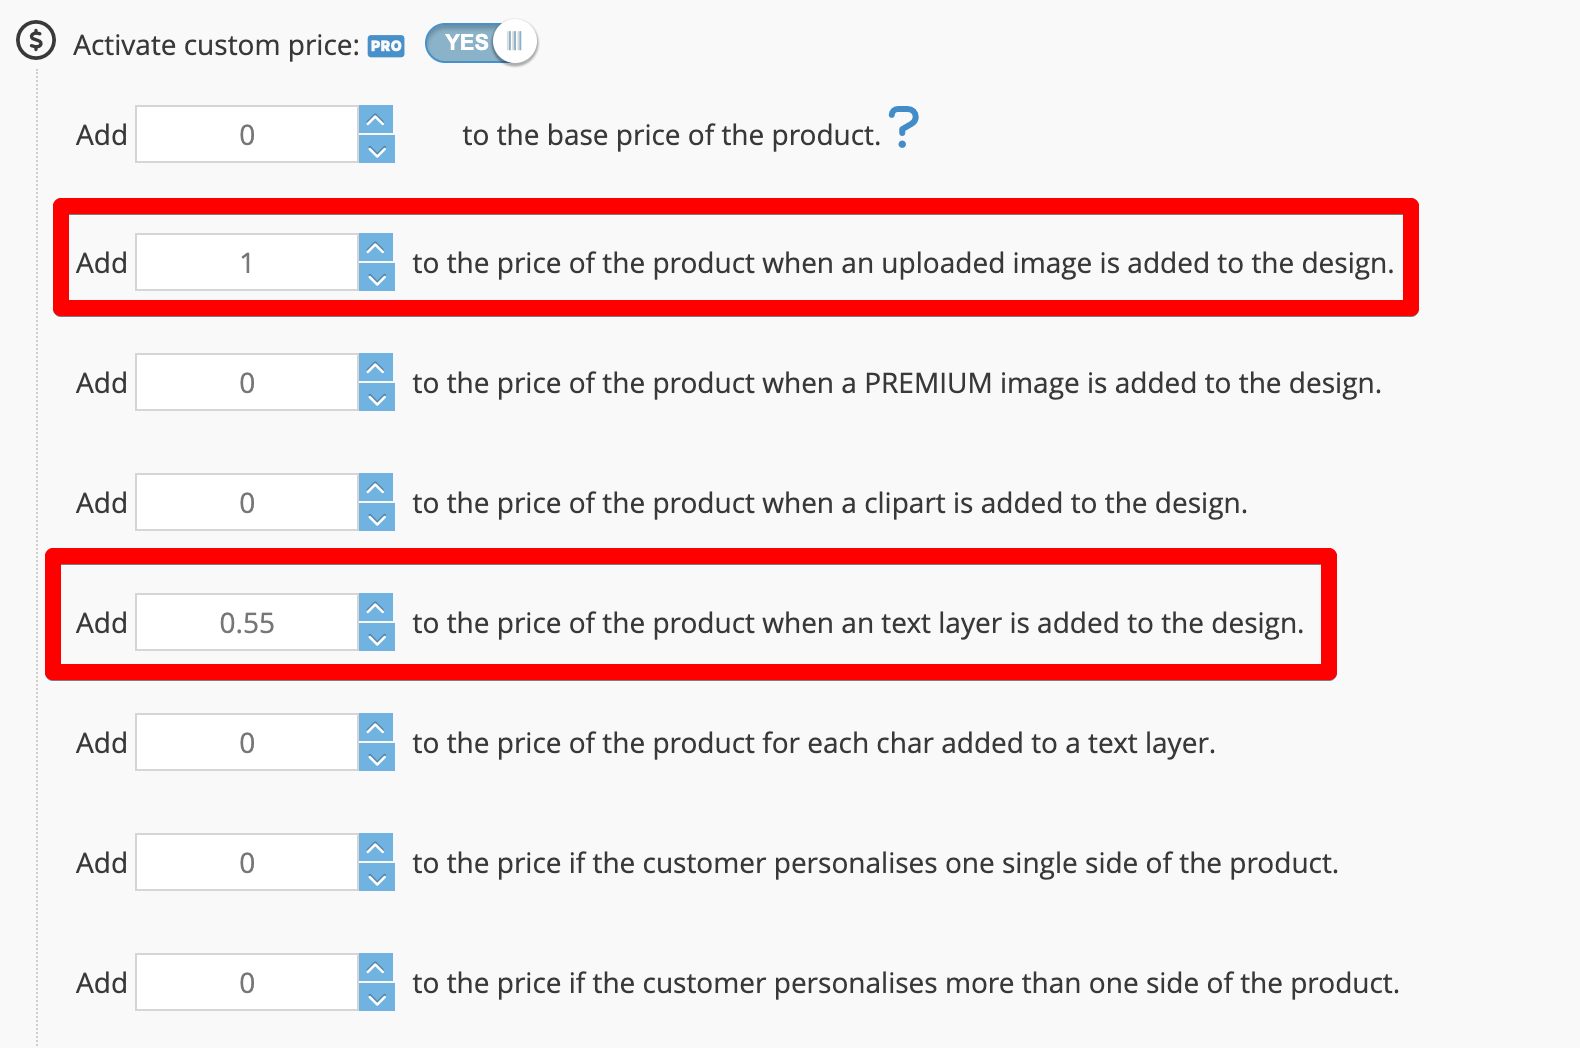
- Set a numeric value on every field that you want to apply to the price. For instance, if you want to increase in $1 for every image added to the design and $0.55 for every text added to the design, set the parameters in this way:
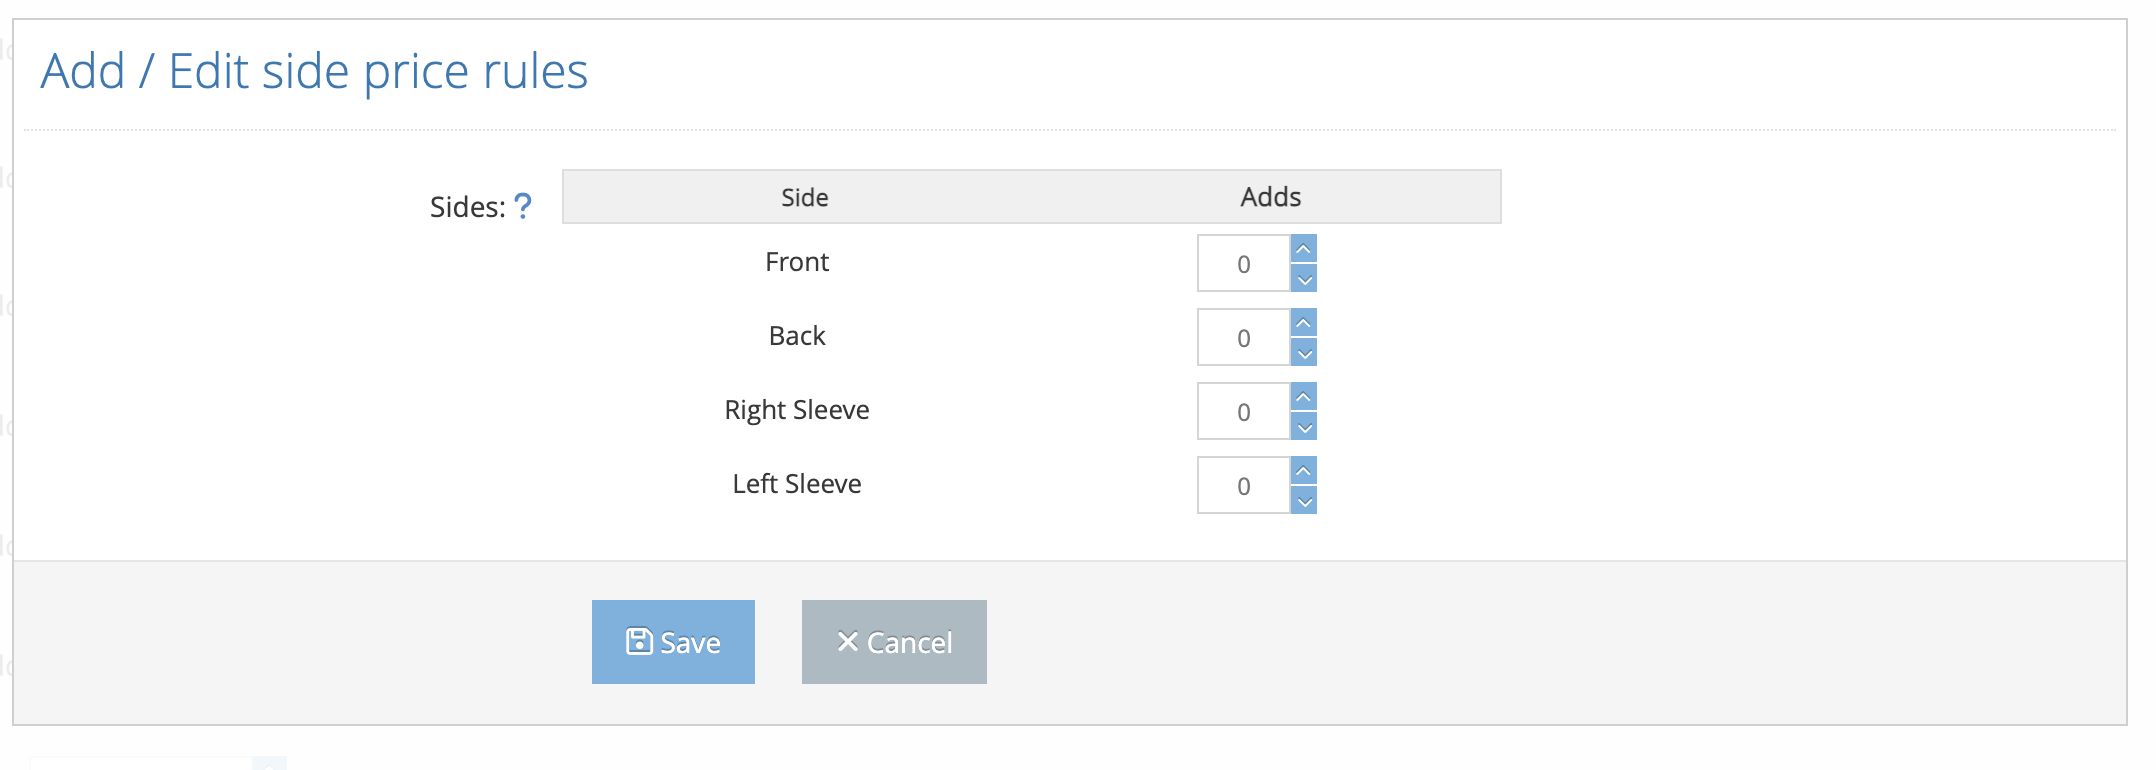
- Add price per side: Add an amount to the price depending on customized side of the product. For instance, if a product has 3 sides, you can set a different amount to add if the customer customize the first, the second, the third or any combination of sides.
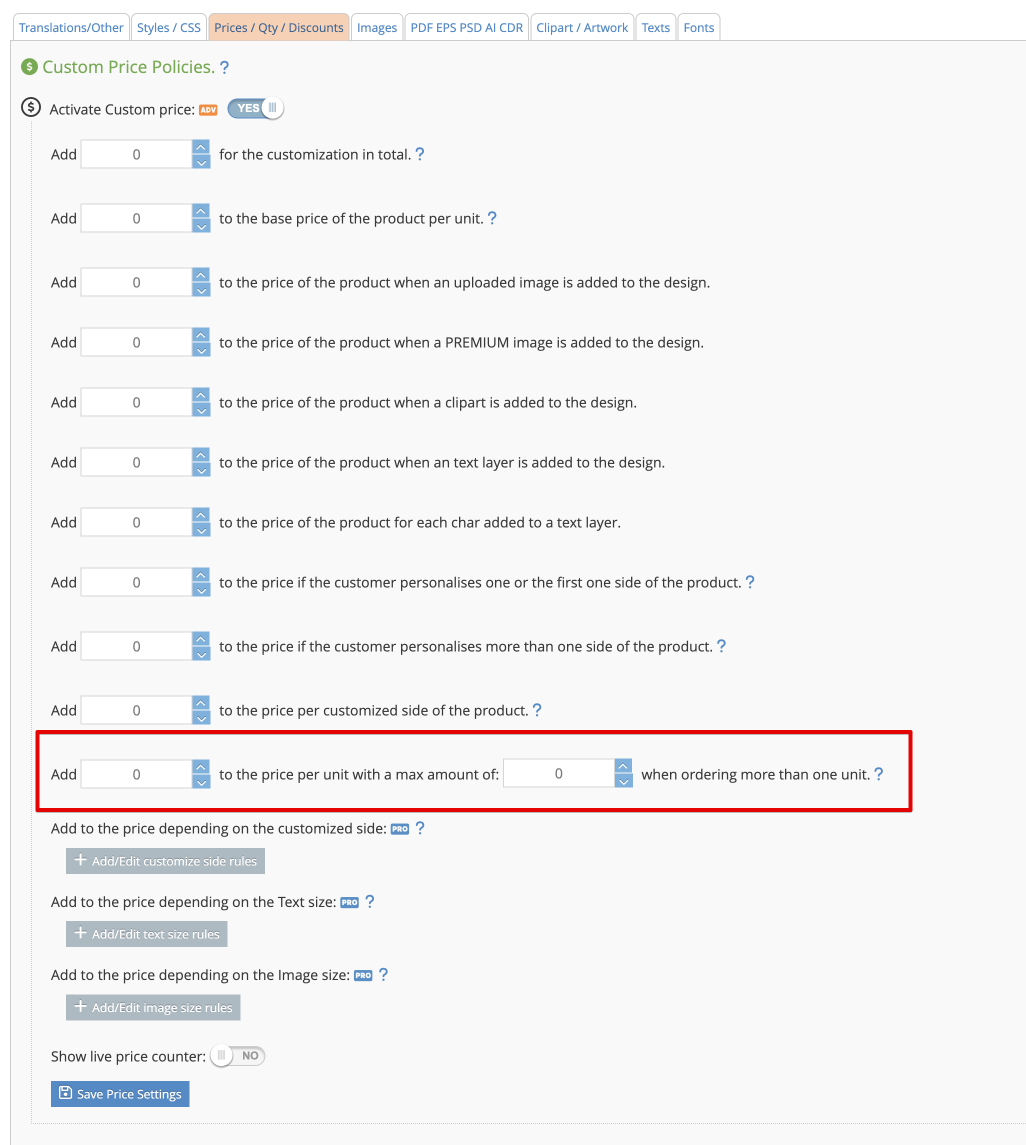
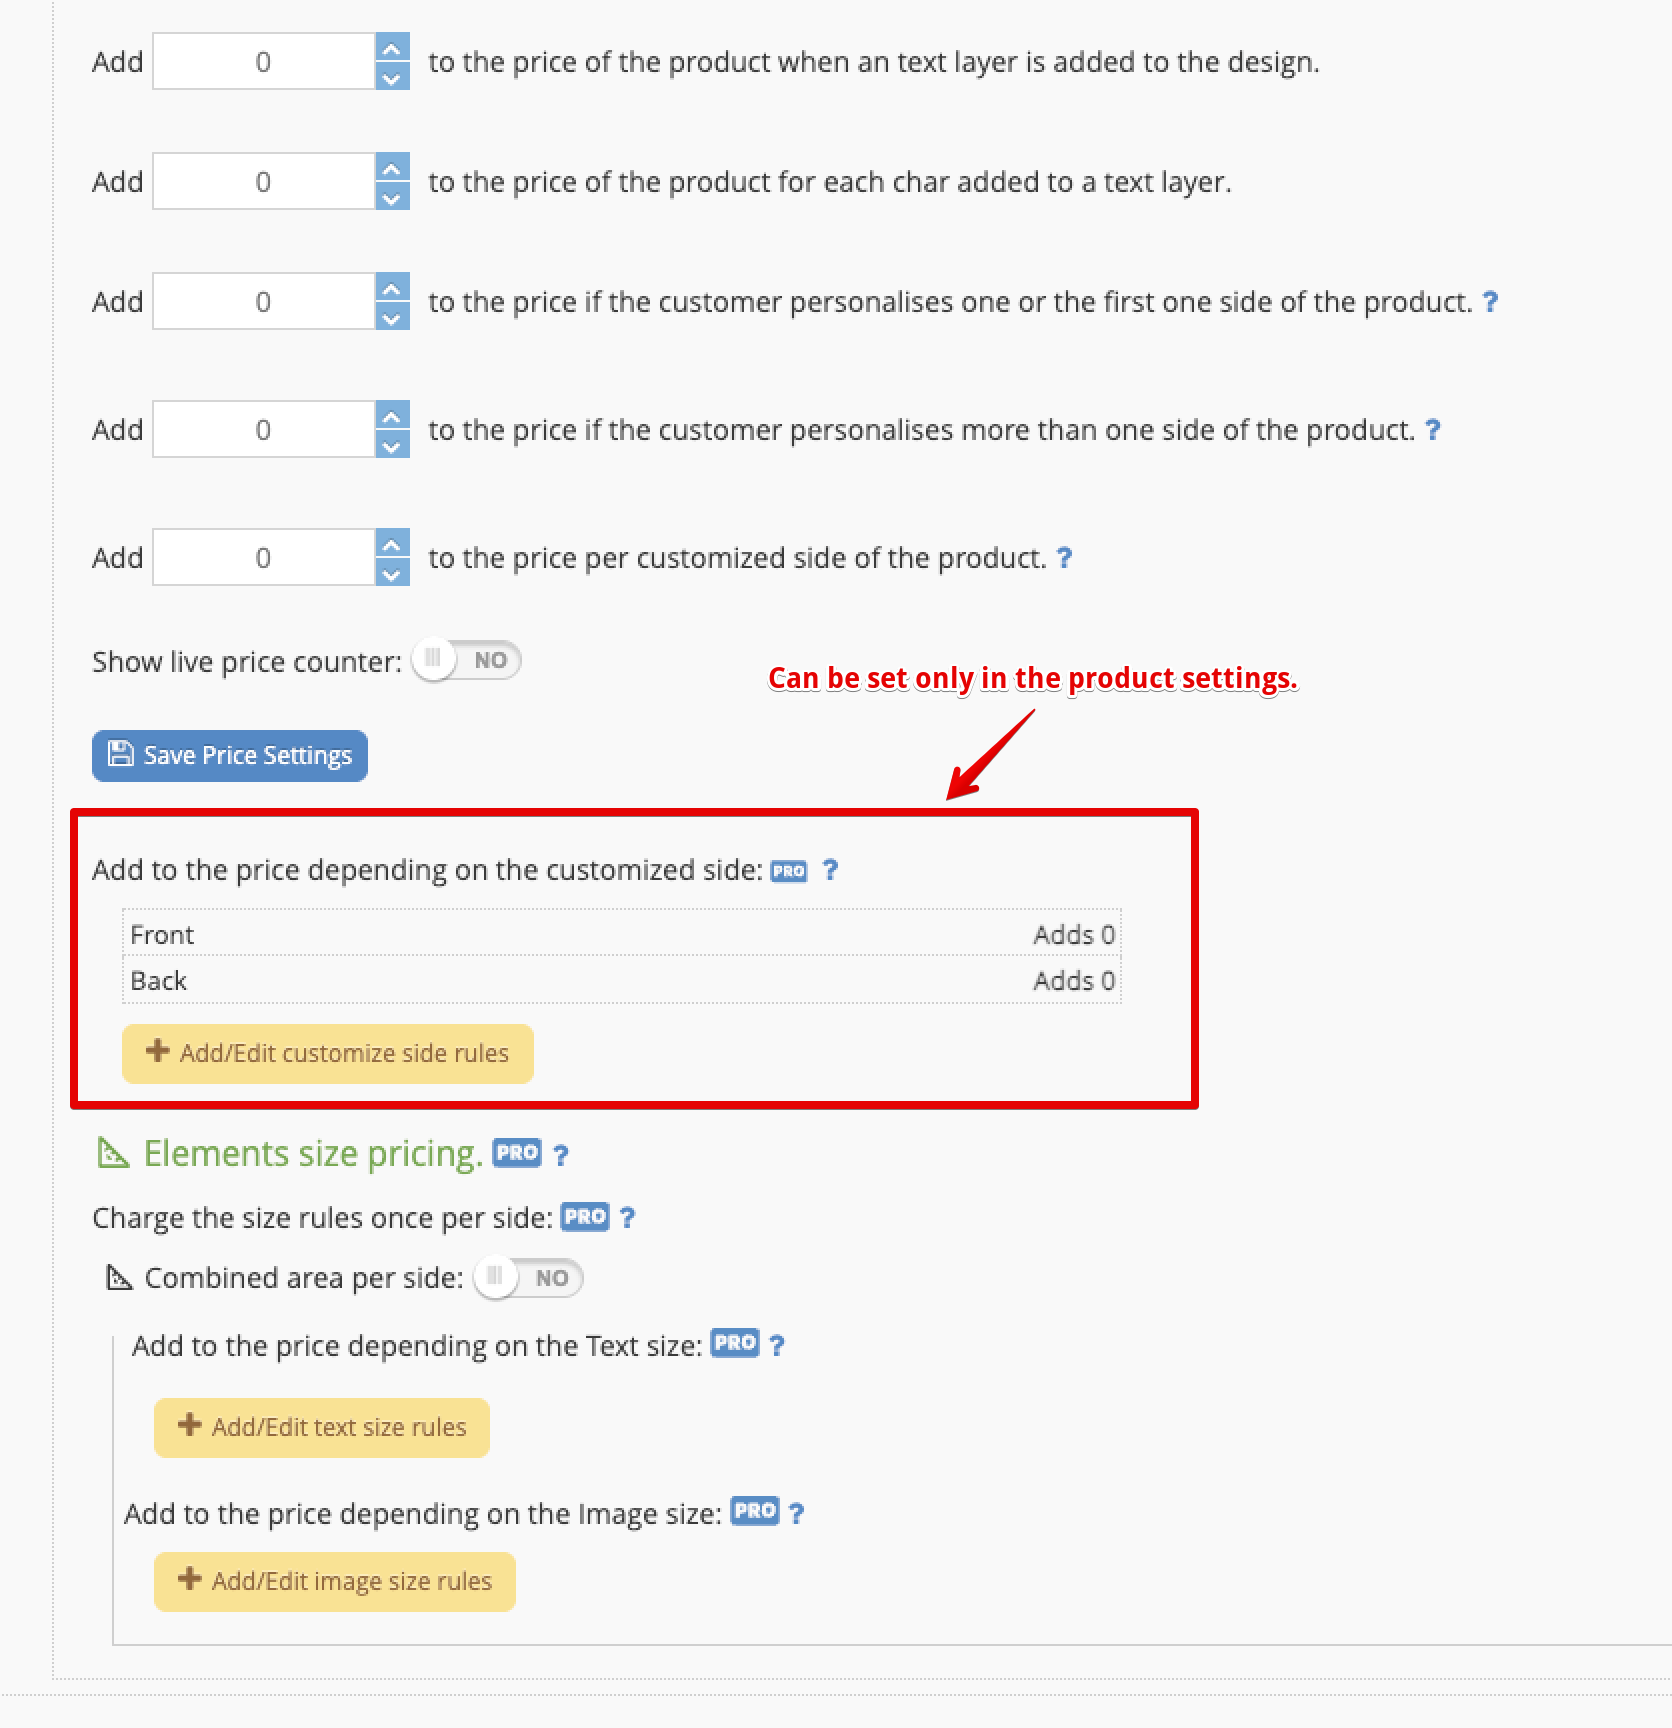
- Add price depending on the customized side:
This feature depends on the sides of the product so, it must be set in the product's page.
For instance, if a product has 4 sides, you can set a different amount to add if the customer customize the first, the second and the third side of the product and none for the 4th.
Elements size pricing
Our application automatically calculates the print area of the design added to a product and adjusts the price accordingly. This ensures that your pricing reflects the actual cost of printing, based on how much surface area the design covers.
You can define pricing rules based on specific print area ranges. For example:
- From 0cm x 0cm to 1cm x 1cm → Add €1.00
- From 1cm x 1cm to 3cm x 3cm → Add €2.50
- From 3cm x 3cm to 10cm x 10cm → Add €5.00
There are two different ways of applying these ranges, and you choose which one with the Combined area per side switch. Both are available in the Professional plan.
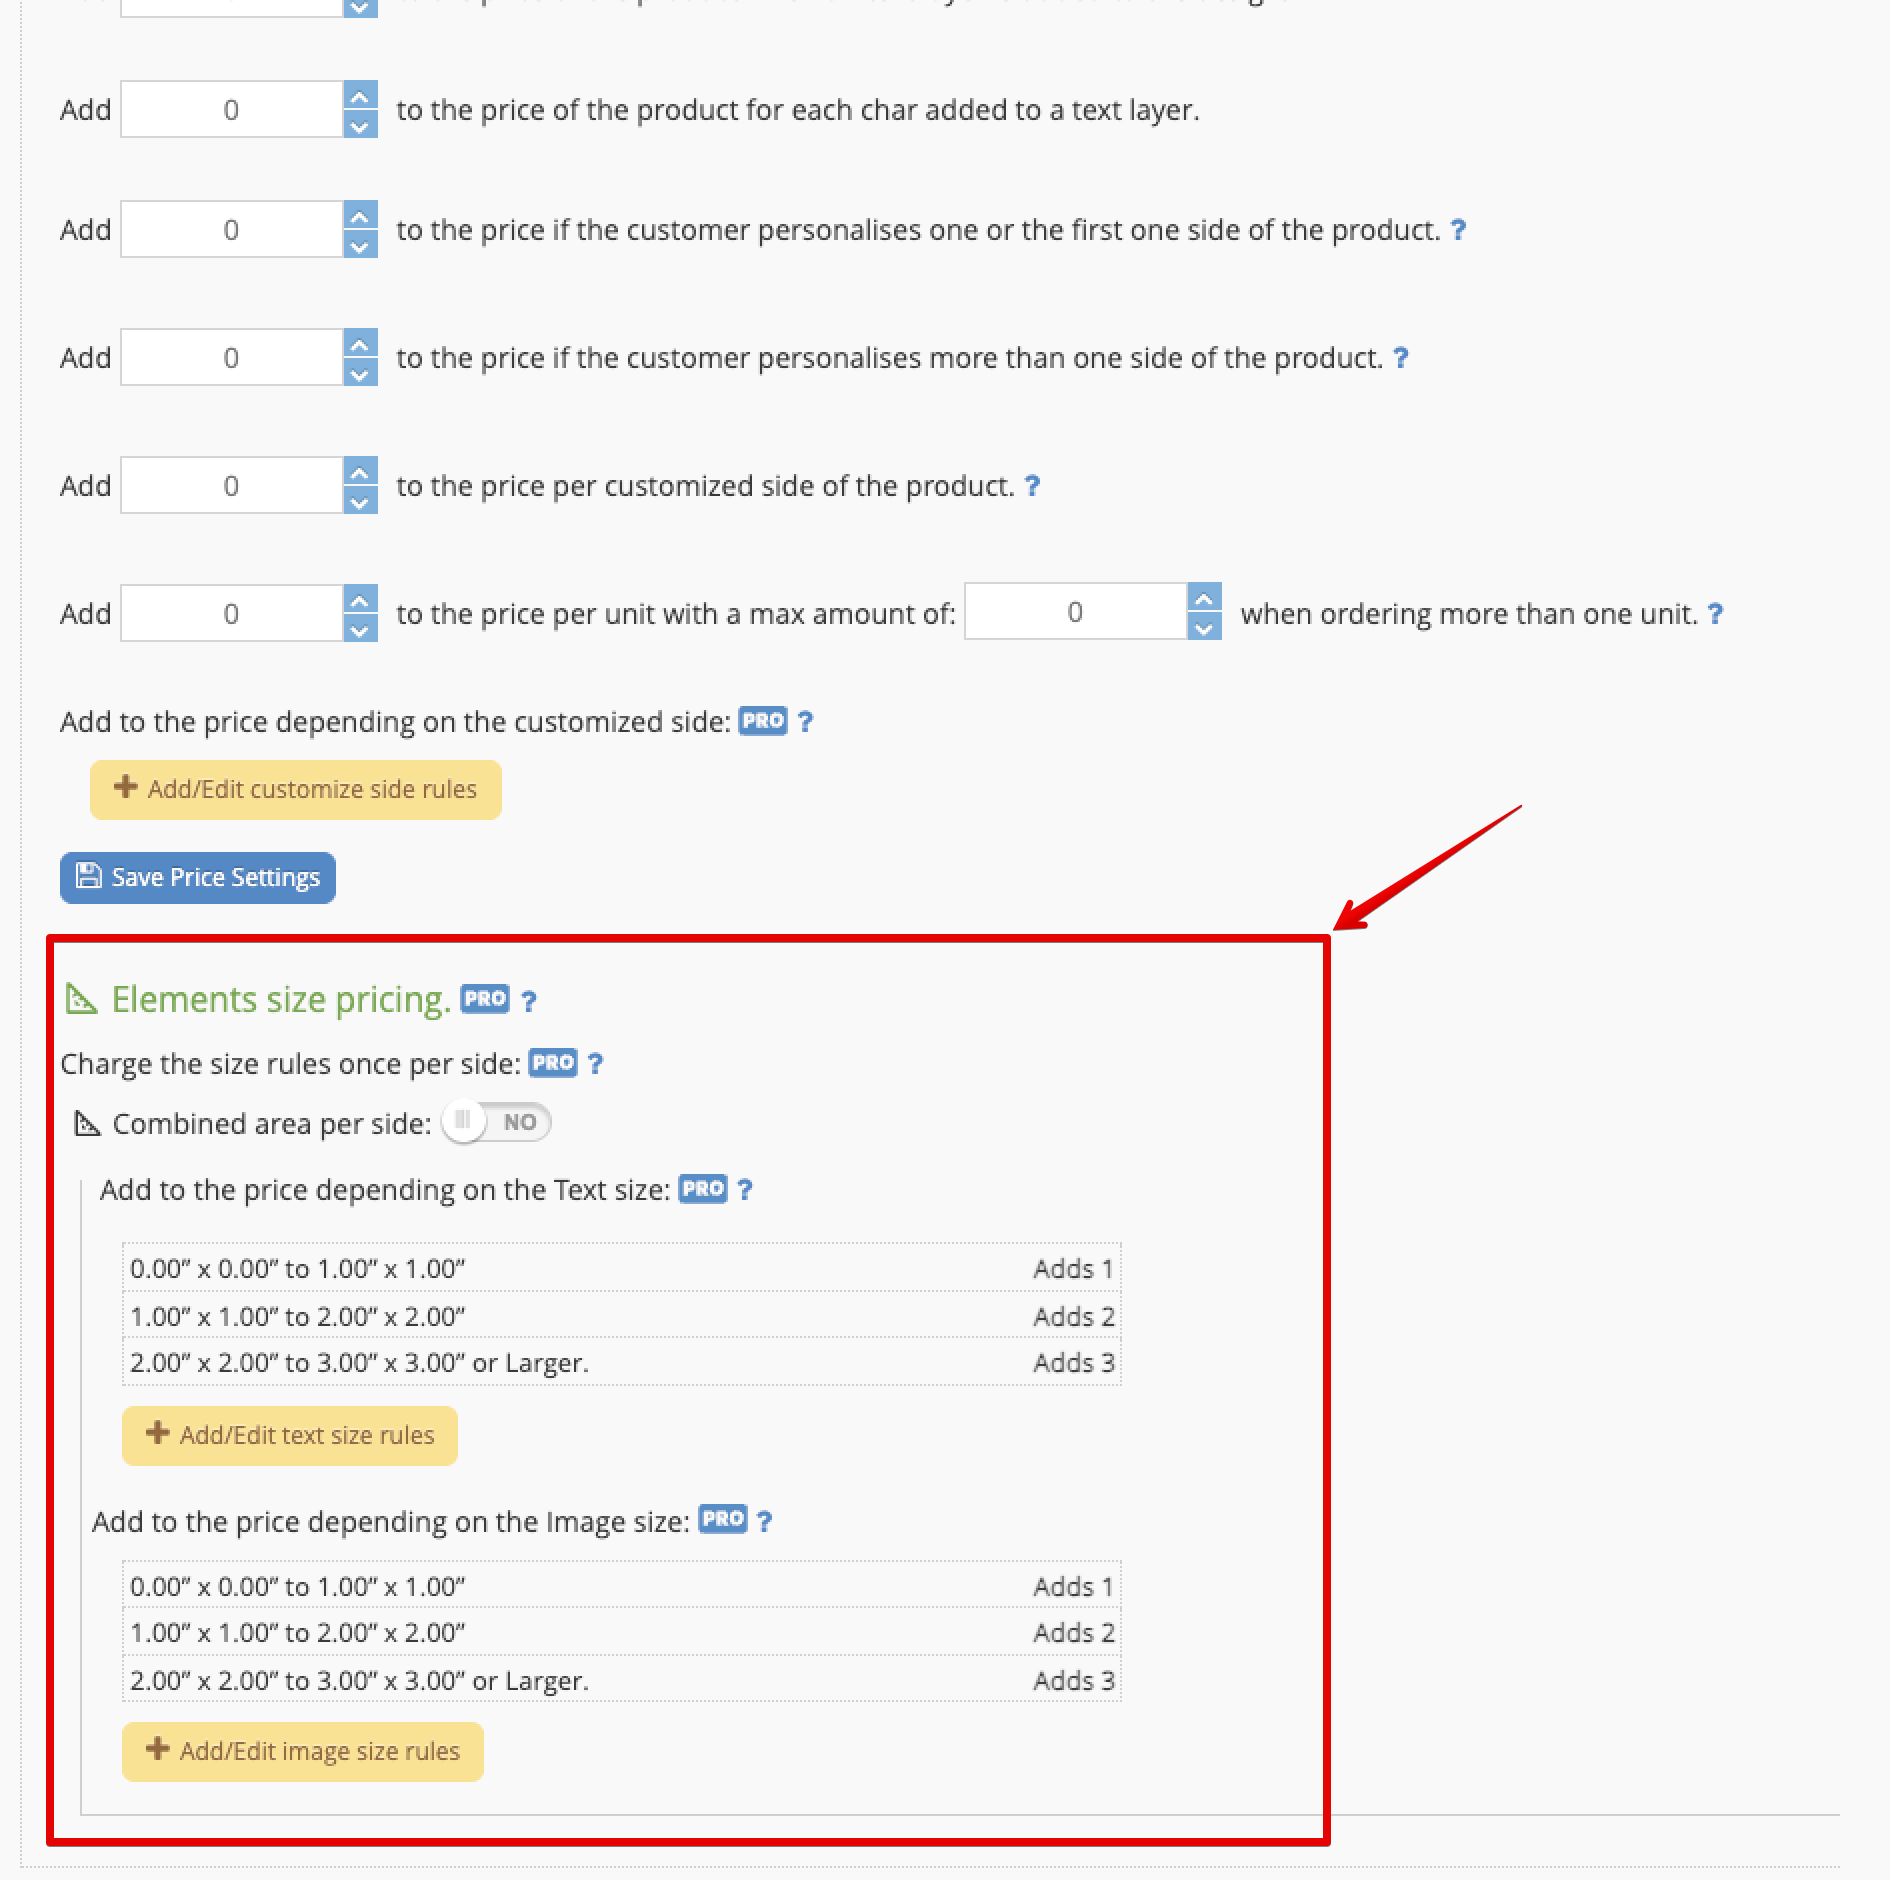
Per element (switch off)
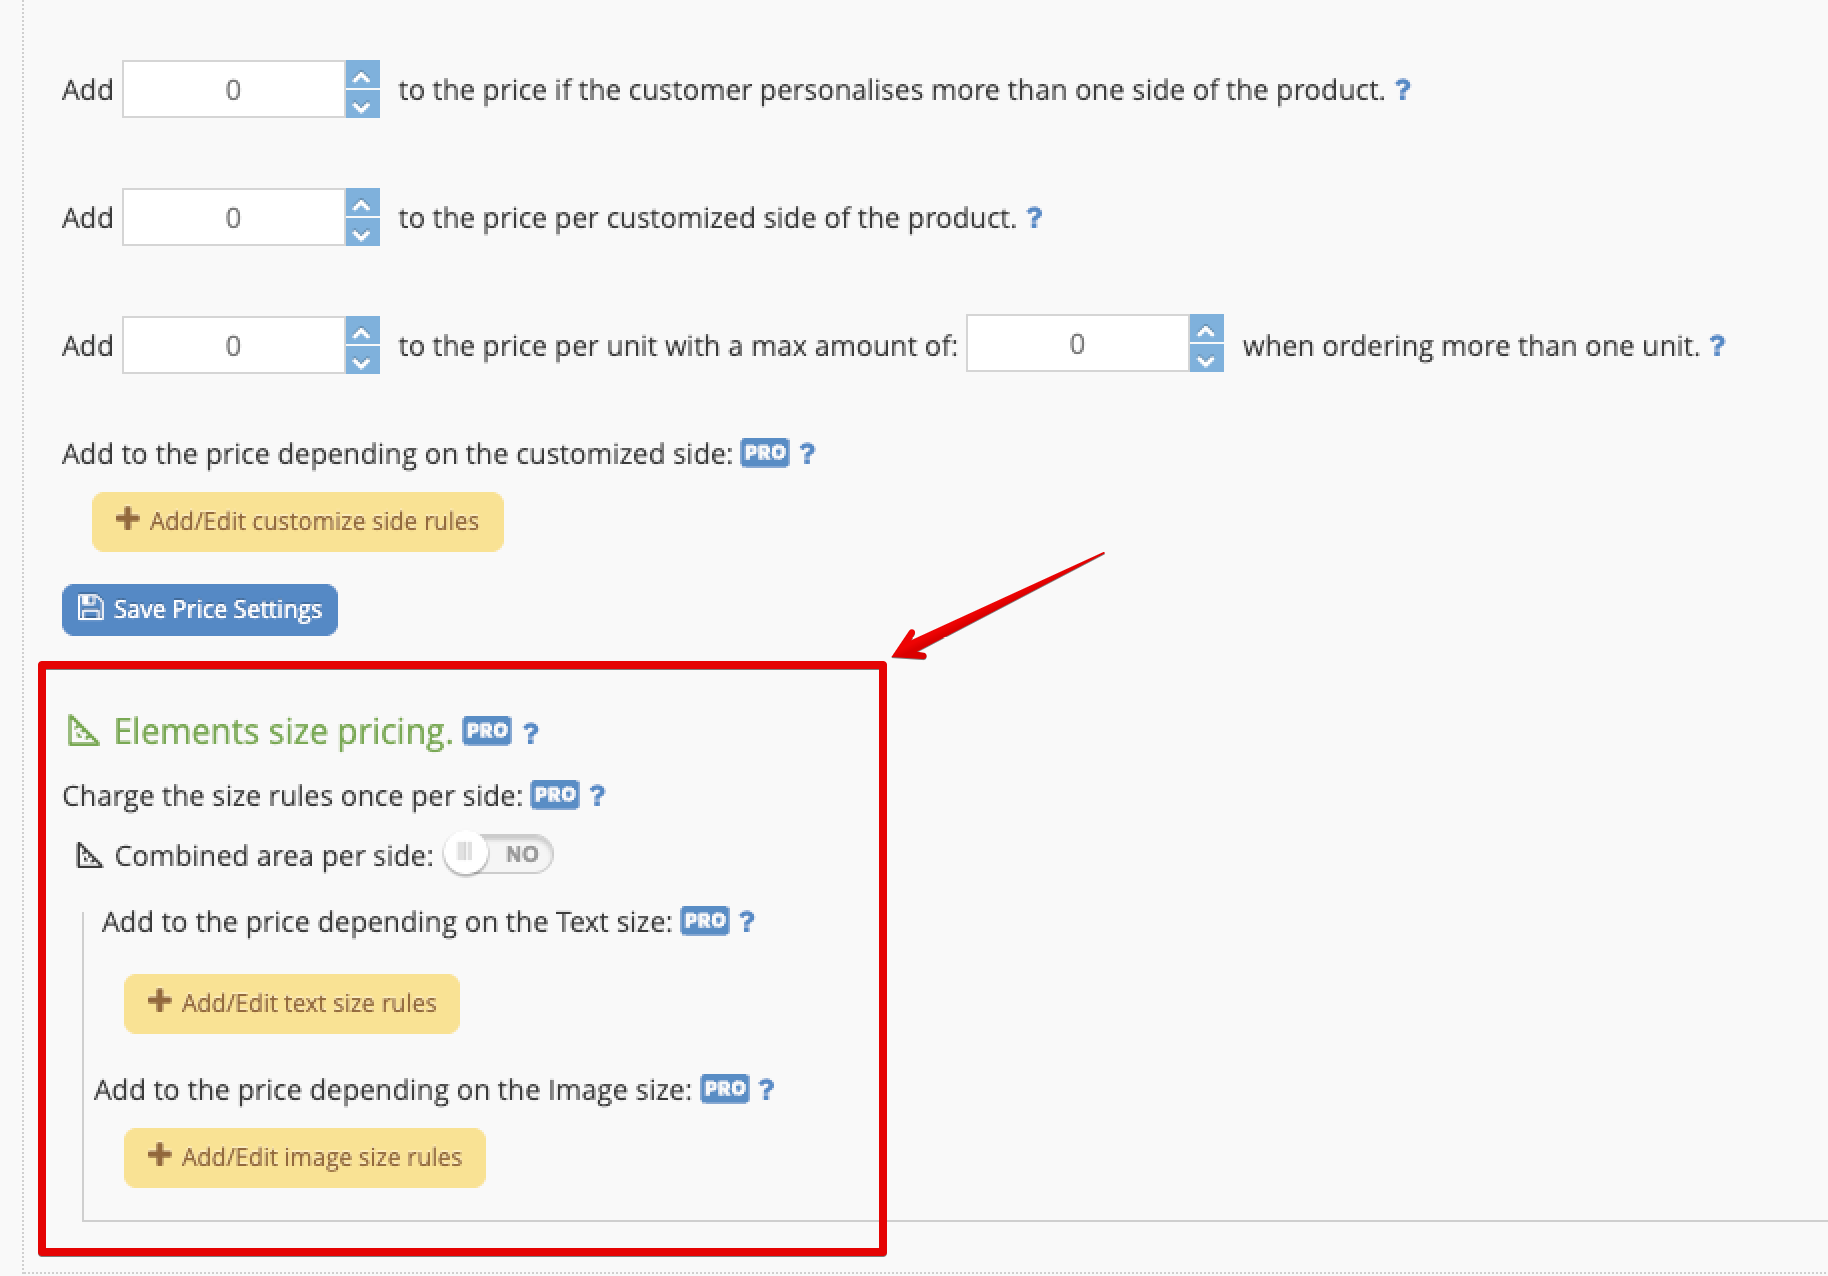
The ranges are applied to every element of the design separately, and the amounts are added up. You define two separate sets of ranges: one for text layers and another one for images, cliparts and stock gallery images.
Example:
A customer adds a logo to a T-shirt design. The logo measures 4cm x 5cm, resulting in a print area of 20cm². According to the rules above, this falls within the 3cm x 3cm to 10cm x 10cm range, so an additional €5.00 is added to the product price. If the customer then adds a line of text, the text is measured and charged on top of that.
Combined area per side (switch on)
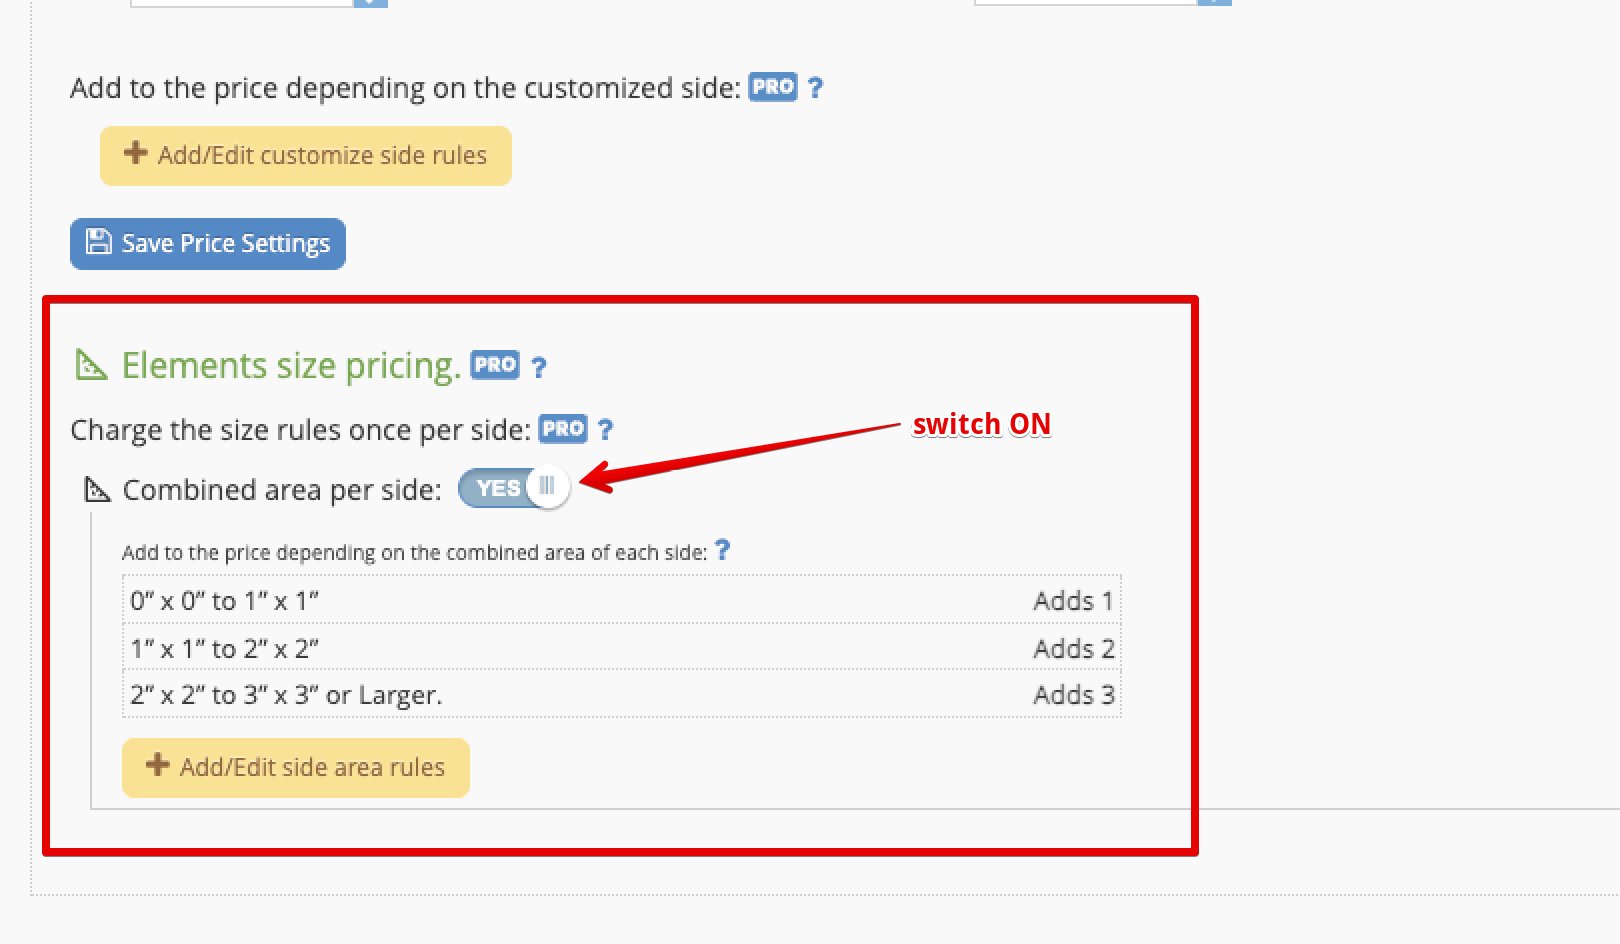
The ranges are applied once per customized side, to the area occupied by all the elements on that side together. Adding more elements inside the same area does not add any extra cost. In this mode you define a single set of ranges, which applies to every side of the product.
This is the right choice when your production cost depends on how much you print on each side and not on how many elements the design contains — for instance DTF, where you print one transfer sheet per side, or screen printing.
How the area is measured:
- Elements that overlap or sit next to each other are counted once for the shared area. A logo with a line of text directly beneath it is one area, not two.
- The empty space between separate elements is not charged. Two small logos at opposite ends of a shirt are priced as two small areas, not as one large one.
- Each side is calculated on its own, never combined across front and back, and a side with no elements adds nothing.
Each element is measured by the box that contains it, so for a line of text the measurement includes the spacing around the letters, and for an image with a transparent background it includes that background.
Example:
A customer adds a 4cm x 5cm logo and a line of text right below it, measuring 4cm x 3cm. Together they occupy 32cm² on that side, which falls within the 3cm x 3cm to 10cm x 10cm range, so €5.00 is added — once, not twice. If the customer adds a third small element inside that same area, the price does not change.
This feature gives you full control over how much you charge based on the actual size of the printed area, helping you cover material and production costs more accurately.
