Quantity from product page is not transferred to the app.
When selecting a quantity greater than 1 on the main product page and then clicking the "Customize" button, the Qstomizer app only registers a quantity of 1.
Why this happens?
This is an intentional limitation due to how Qstomizer manages calculations:
Complex Calculations: The application is designed to handle intricate calculations of custom pricing and discounts based on the selected options and the final quantity.
The Correct Flow: Due to this architecture, it is not feasible to directly transfer the quantity selected on the product page to the customization tool.
The Rule: The quantity **must be specified within the Qstomizer customization tool itself**.
The Recommended Solution (Best Practice)
To avoid confusion for your customers and ensure the quantity is registered correctly, we recommend hiding the quantity field on the main product page when the "Customize" button is visible.
This way, the customer will only have the option to set the desired quantity within the Qstomizer customization interface, ensuring the data is correctly integrated with the price calculations.
How to Hide the Quantity Field from the product page
You can achieve this by using the Product App Block settings.
The simplest way is to use the field provided directly in the Qstomizer App Block settings in your Shopify theme. This field is specifically designed to target the any element of the page and hide it when customization is active.
Steps:
- Access your theme edit and go to the product page, then enter in the the Qstomizer App Block settings.
- Look for the section to "Elements to hide" (check screenshot below).
- Enter the CSS selector or ID of your theme's quantity field into this box. (Note: You may need to use browser developer tools to find the correct selector. See tutorial below.)
- Save the settings
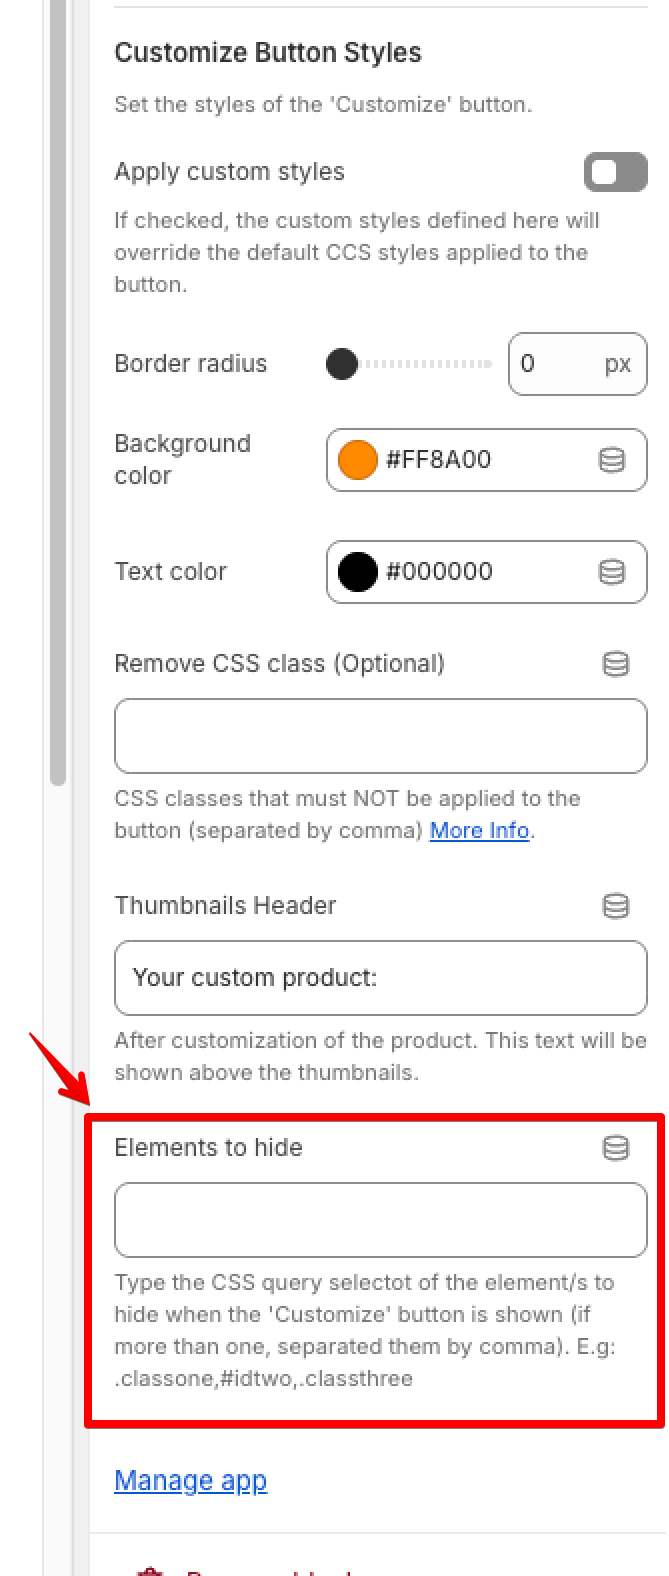
"Elements to hide" section in the Qstomizer App Block settings.
How to Find an Element's ID or CSS Class using Chrome Developer Tools
To efficiently target and style a specific element, you need to find its unique identifier (ID) or class name(s).
- Visit any product page in your store using Chrome on desktop
- Open Chrome Developer Tools (DevTools):
Right-click on the element you want to inspect (Quantity Box) on the webpage and select Inspect.
Alternatively, you can press F12 or Ctrl+Shift+I (Windows/Linux) or Cmd+Option+I (Mac).
- Use the Element Selector Tool:
In the DevTools panel, click the "Select an element" icon (it looks like a mouse cursor or arrow) in the top-left corner.
- Inspect the Element:
Hover your mouse over the element on the webpage. It will be highlighted in the viewport.
Click the element to select it. The Elements panel in DevTools will automatically jump to and highlight the corresponding HTML code.
- Identify the ID or Class:
In the highlighted HTML code within the Elements panel, look at the element's attributes to find the required selector:
ID: The unique identifier is listed in the id attribute (e.g., id="view_123").
Class: The class name(s) are listed in the class attribute (e.g., class="quantity-input").
Example:
This video shows you how to obtain the id or class name:
In this example, the quantity input field has the class name "product-form_quantity". You would enter ".product-form_quantity" (starting with a dot '.') in the "Elements to hide" field in the Qstomizer App Block settings.
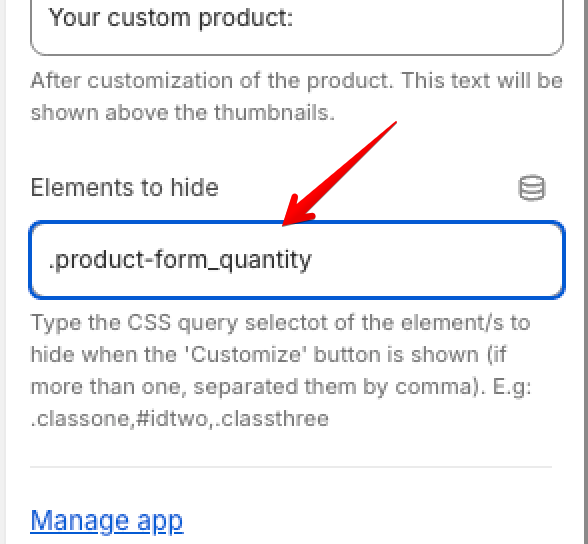
Remember to save the changes in the Qstomizer App Block settings and test the product page to ensure the quantity field is hidden when the "Customize" button is displayed.
Please note: Code modifications are not included in any free service. Depending on the complexity and scope of the required changes, additional fees will apply.
